I’m winding down on the rehabilitation of the Room Formerly Known as Rick’s Room. I was planning to do one long blog, but have decided that I really should do a blog of each task that I have performed. Then I can do one blog for the finish.
First step was to take out the decrepit carpet. Its integrity was still good, so I had to find a very sharp carpet knife to get through it. I managed to slice it into sections that could be folded into construction bags for disposal. This left a lot of sand, dirt, and other things I could not identify, and maybe I didn’t want to. At least the under floor was in good shape.
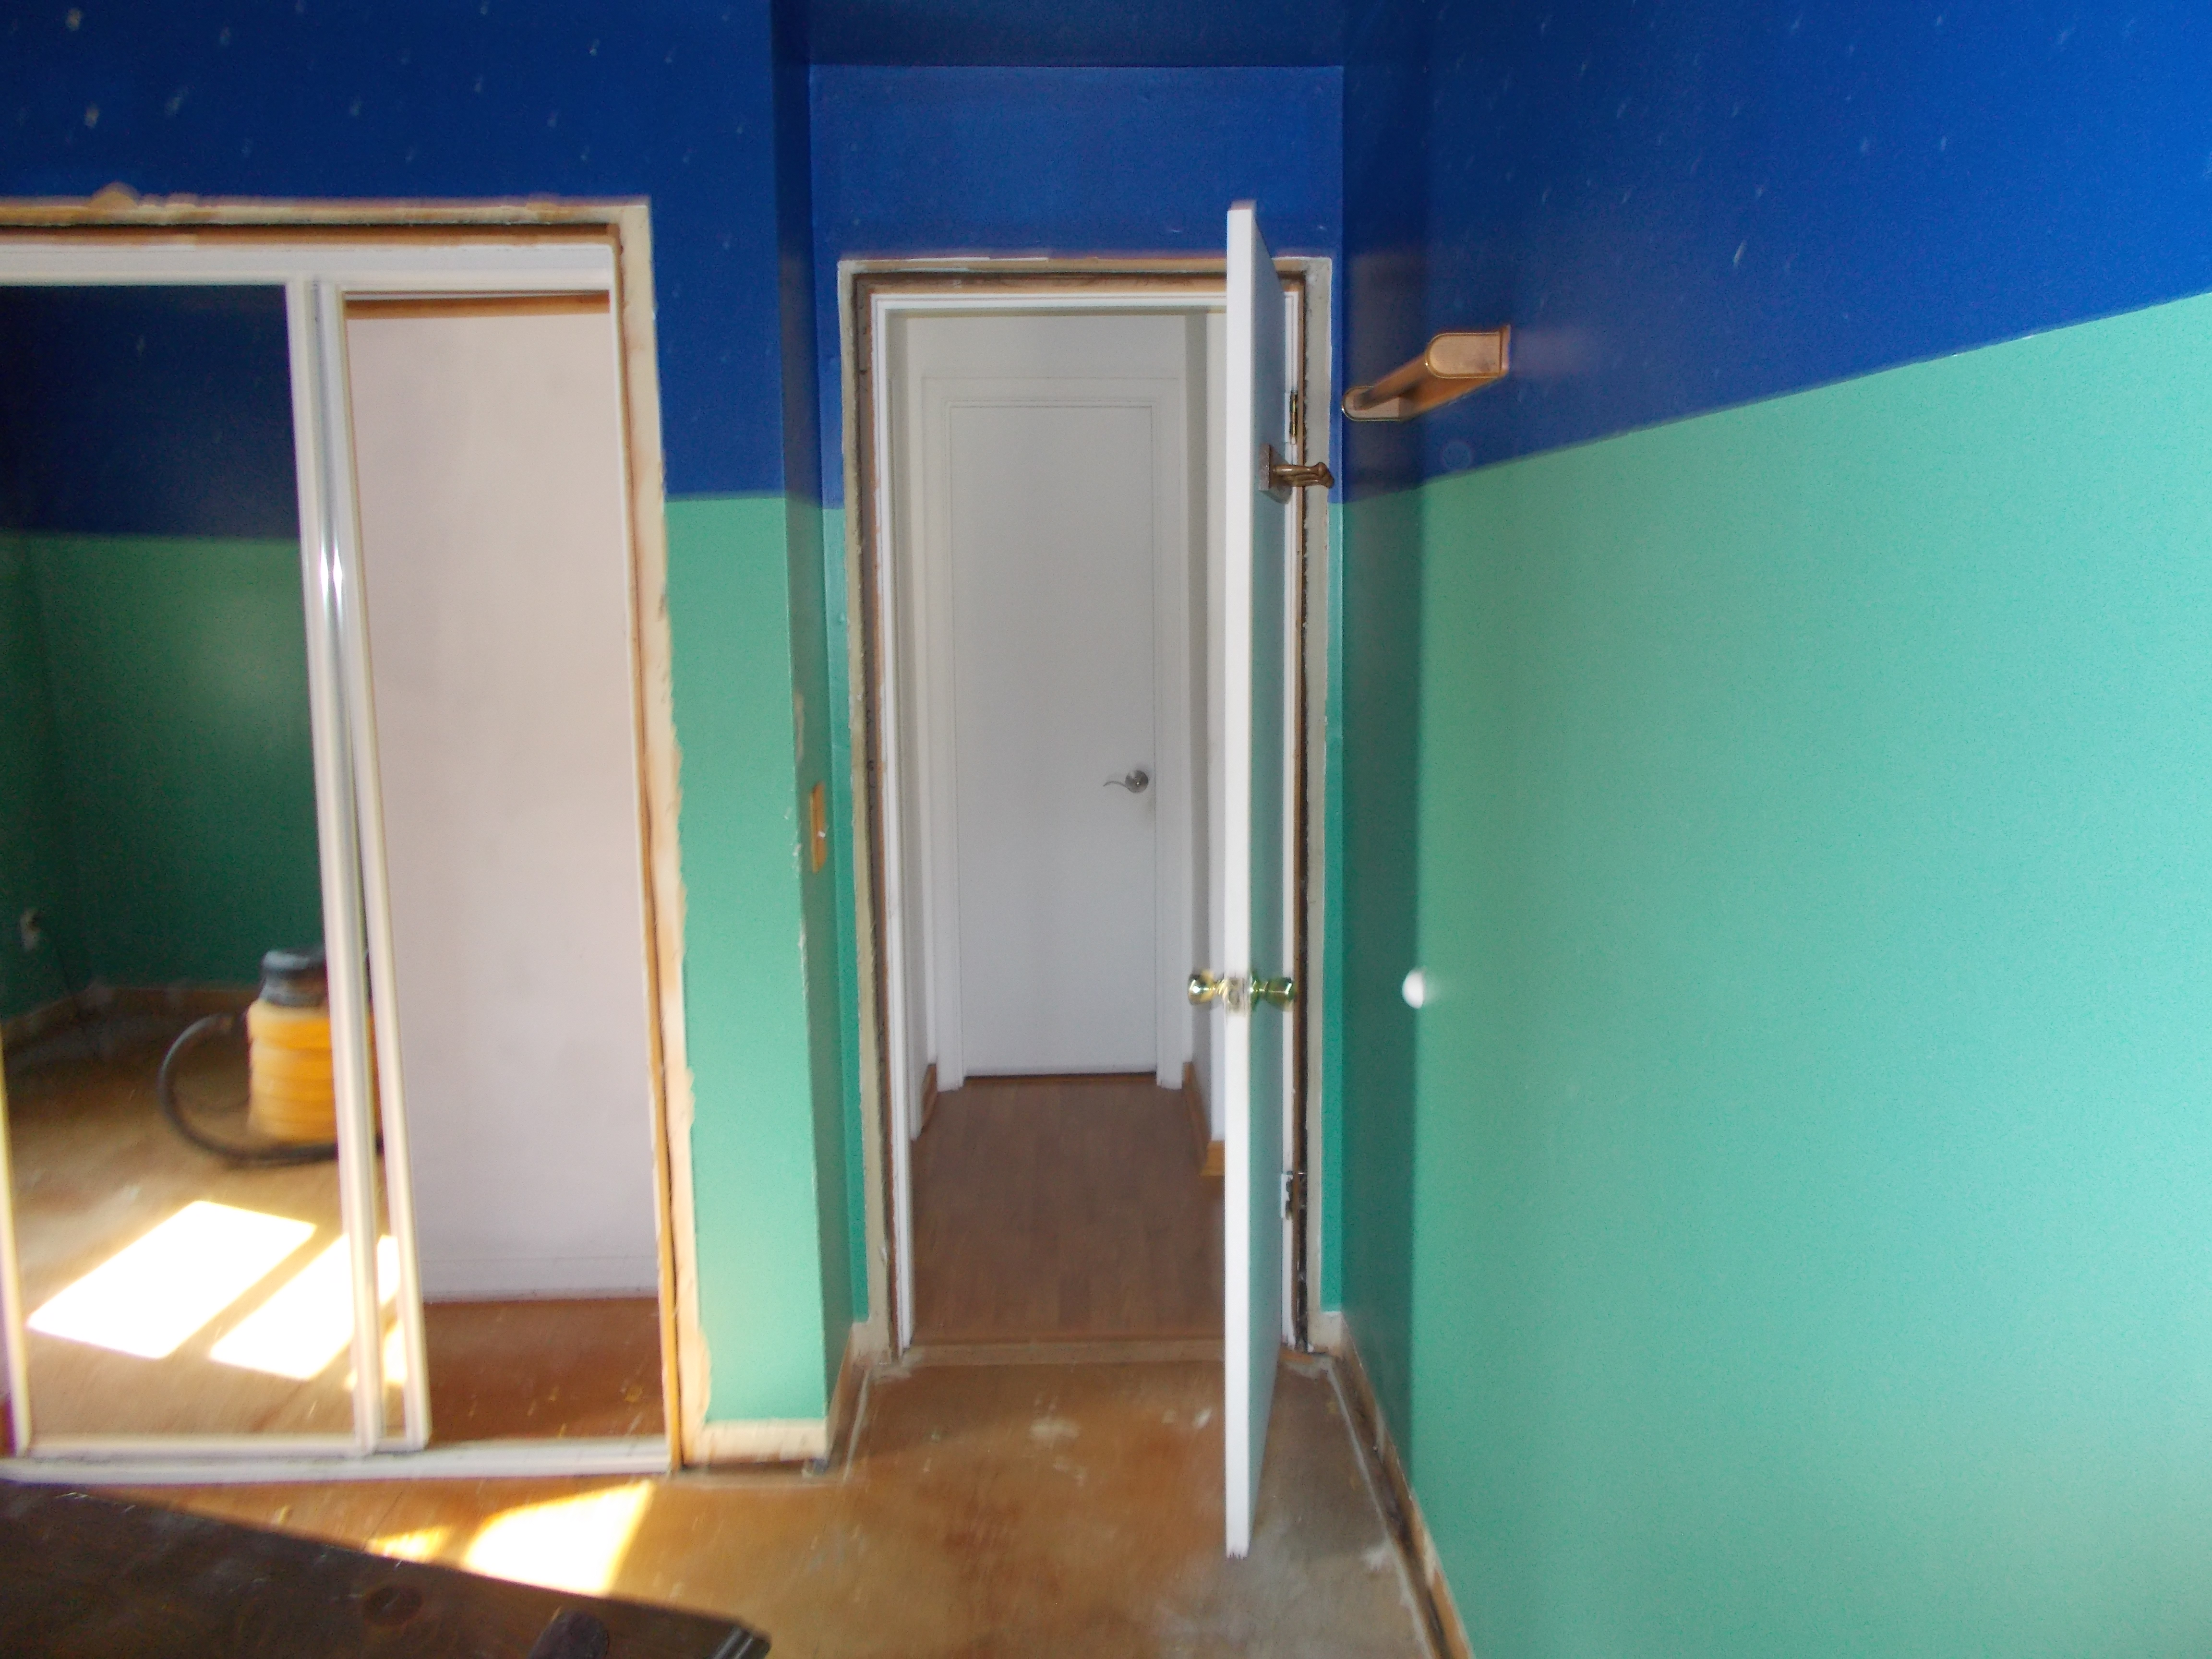
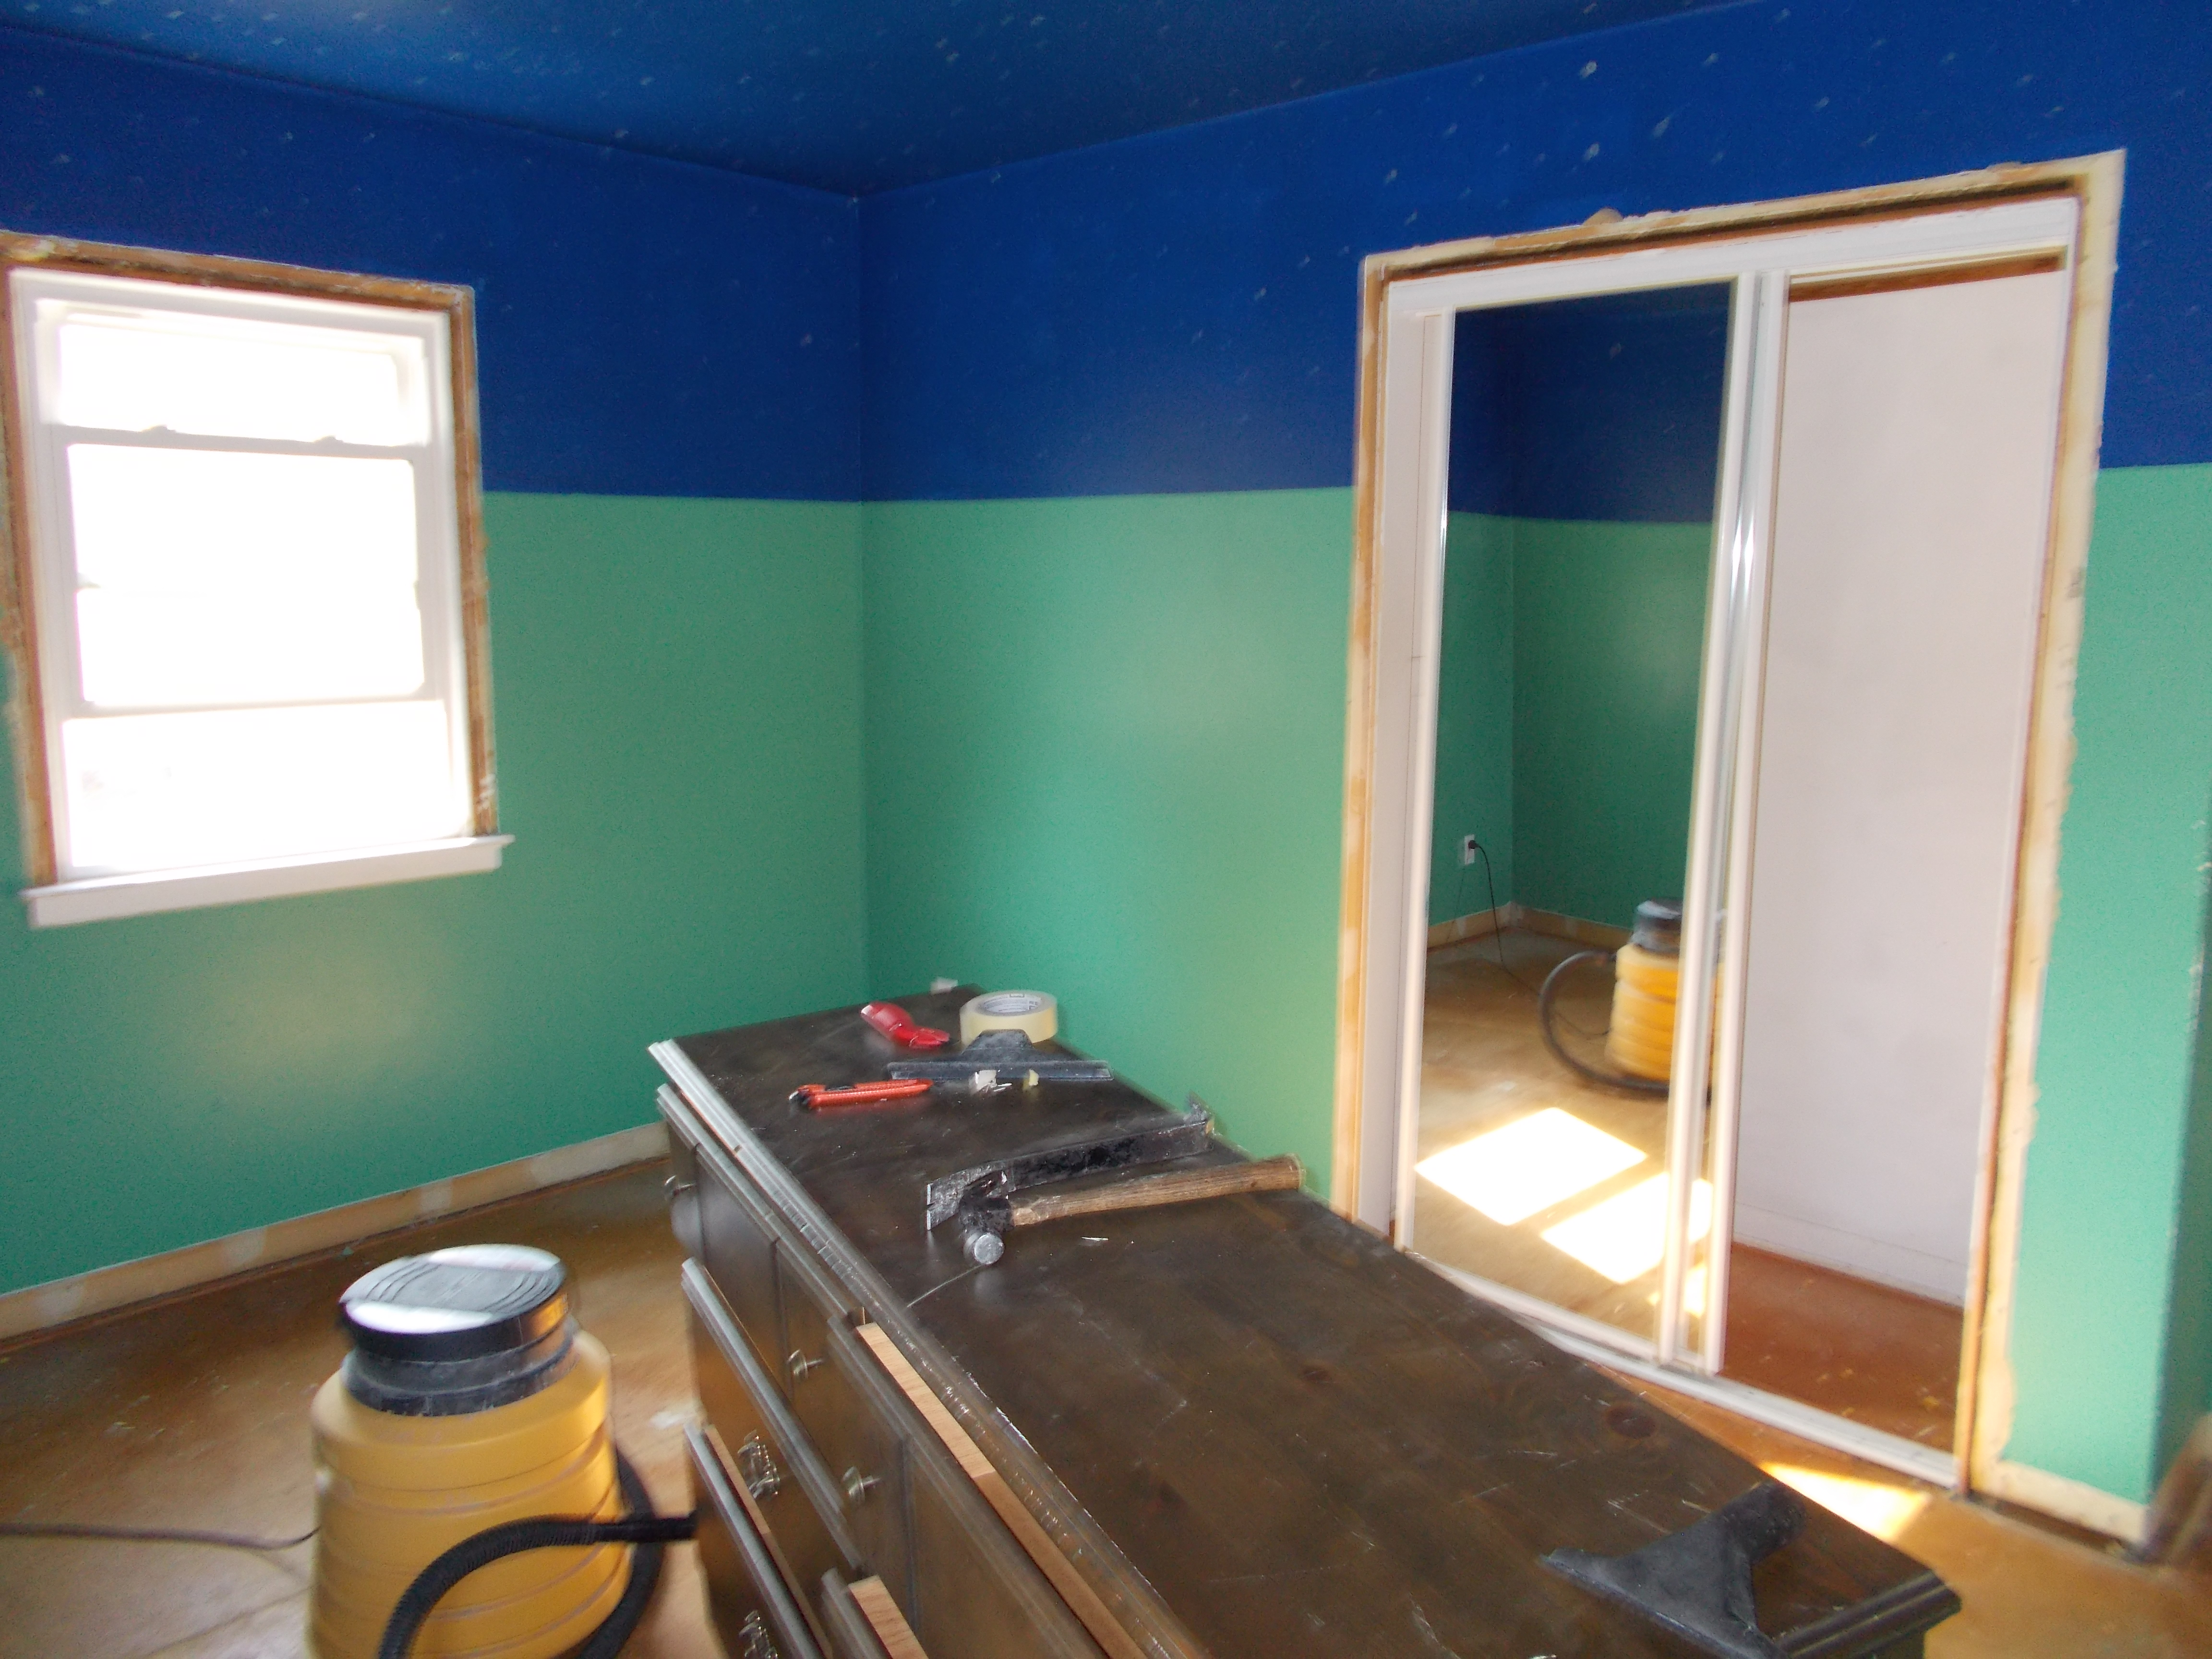
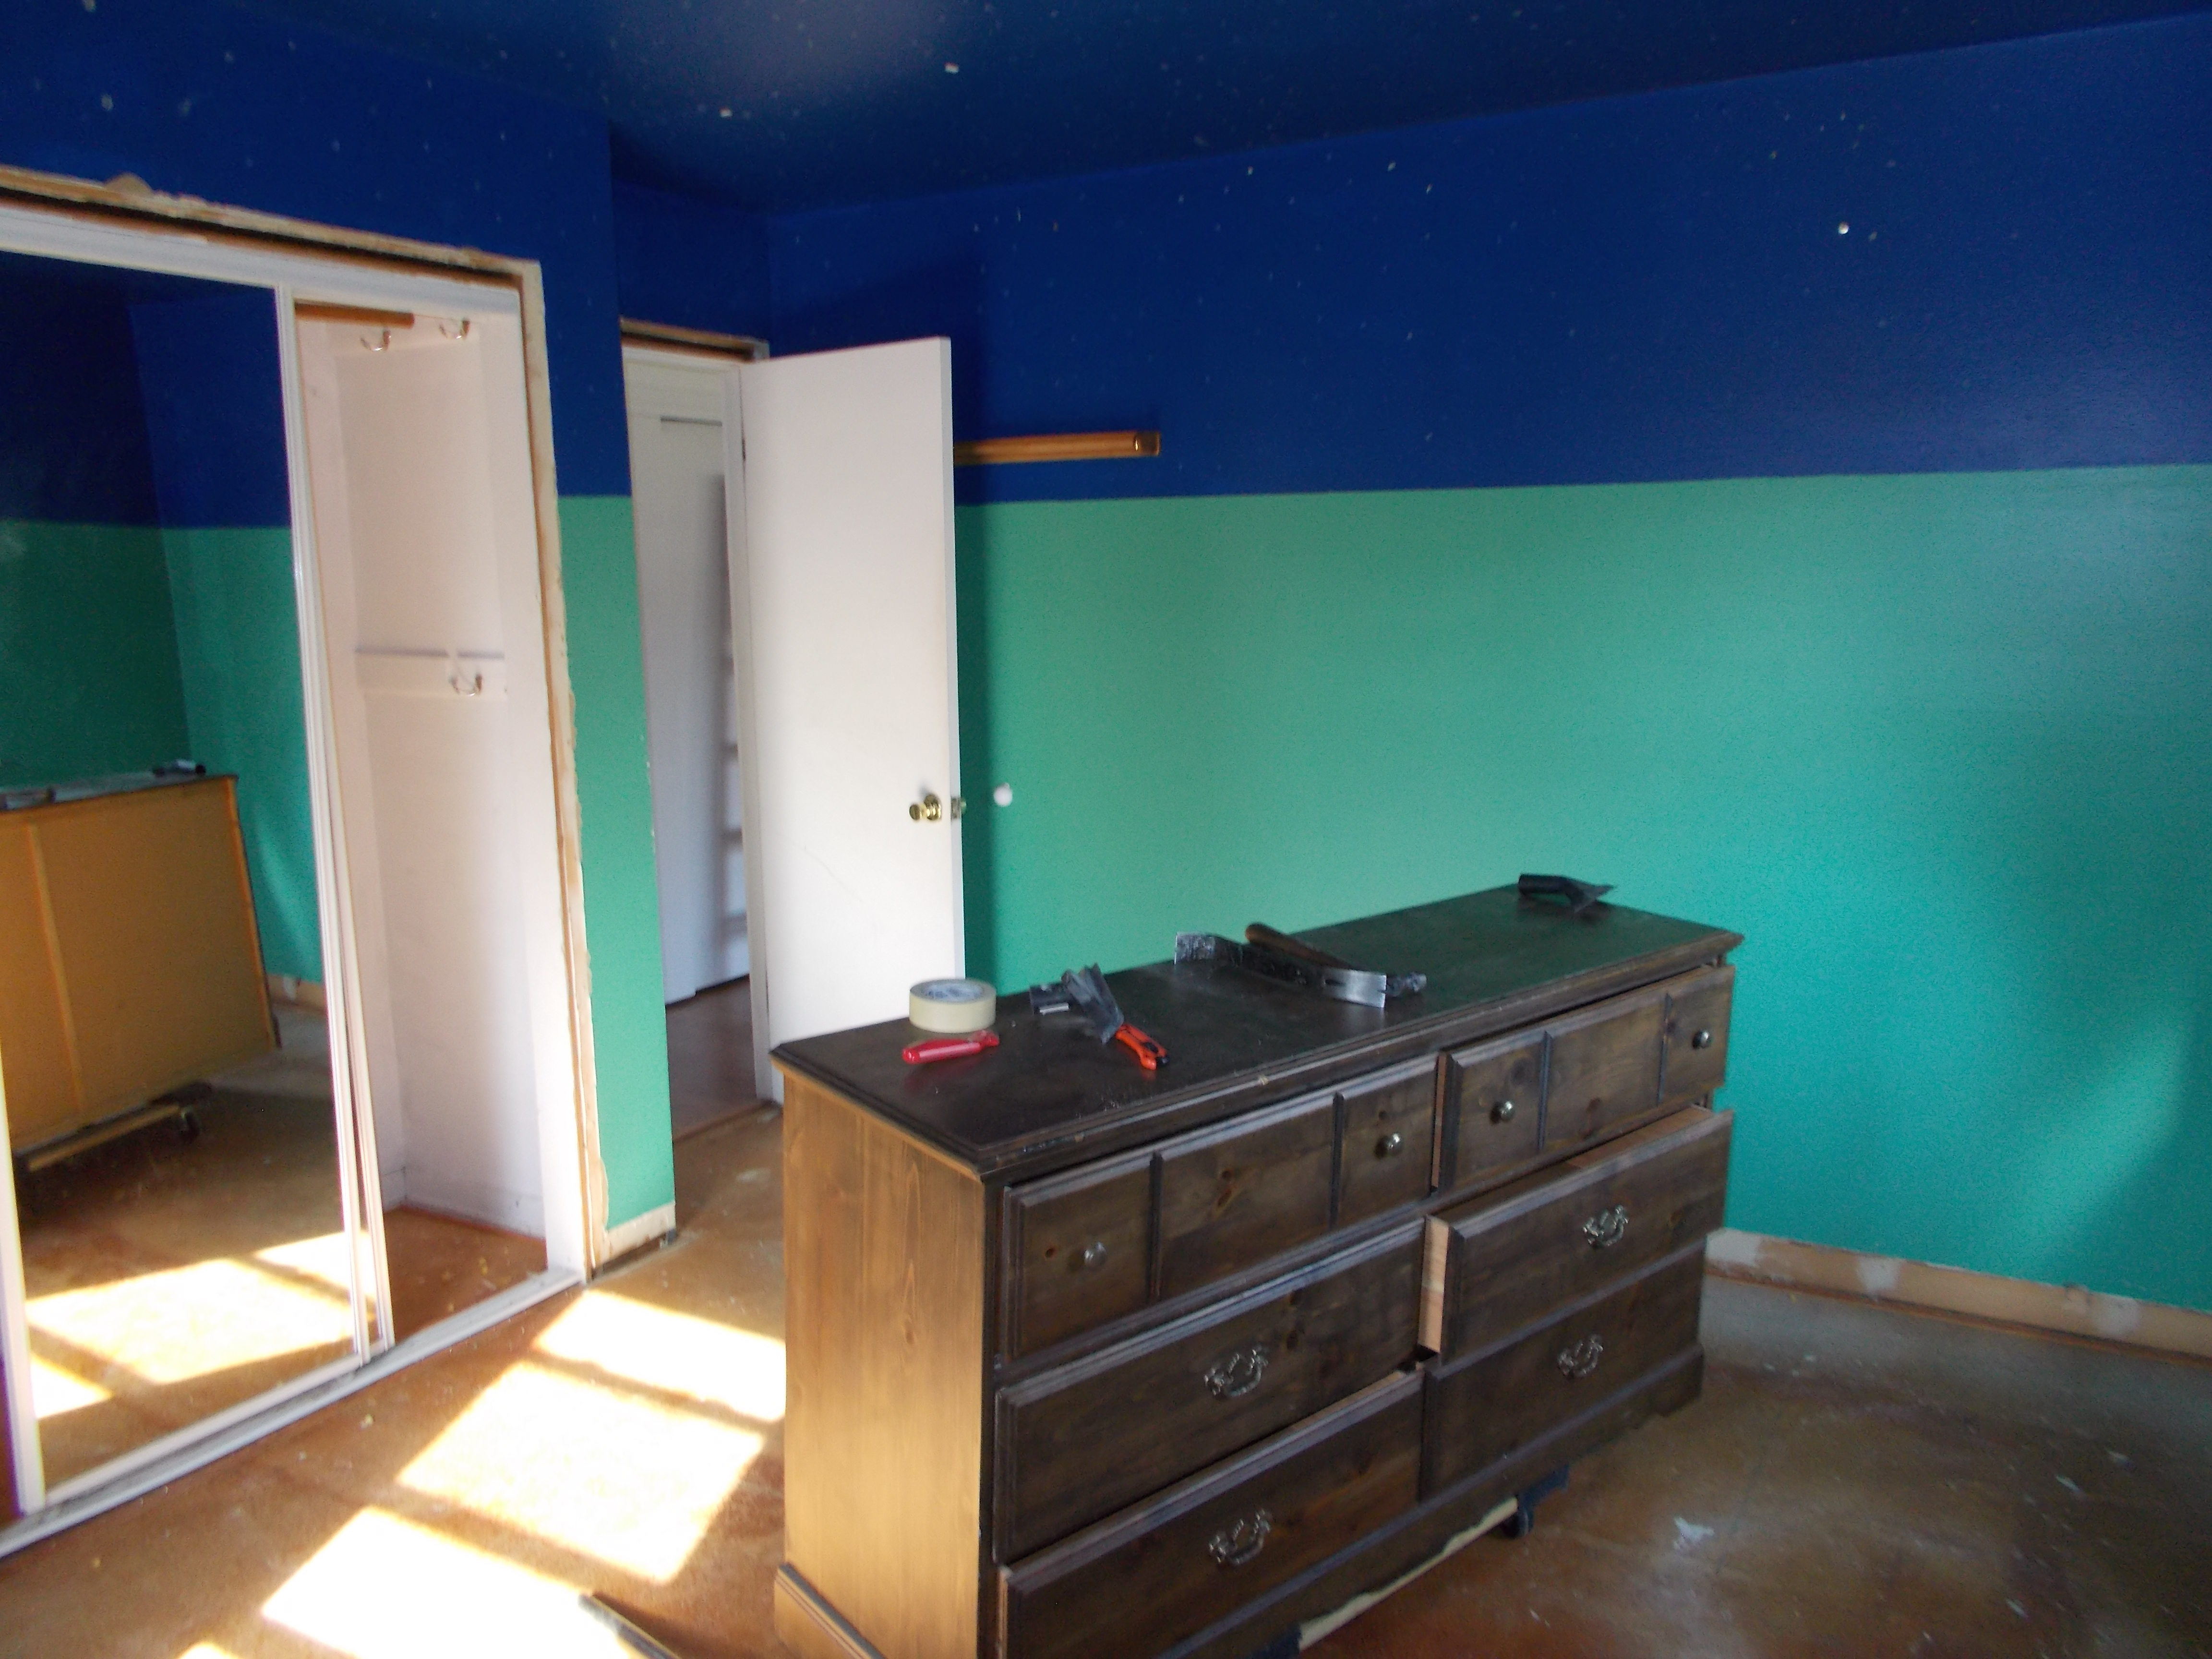
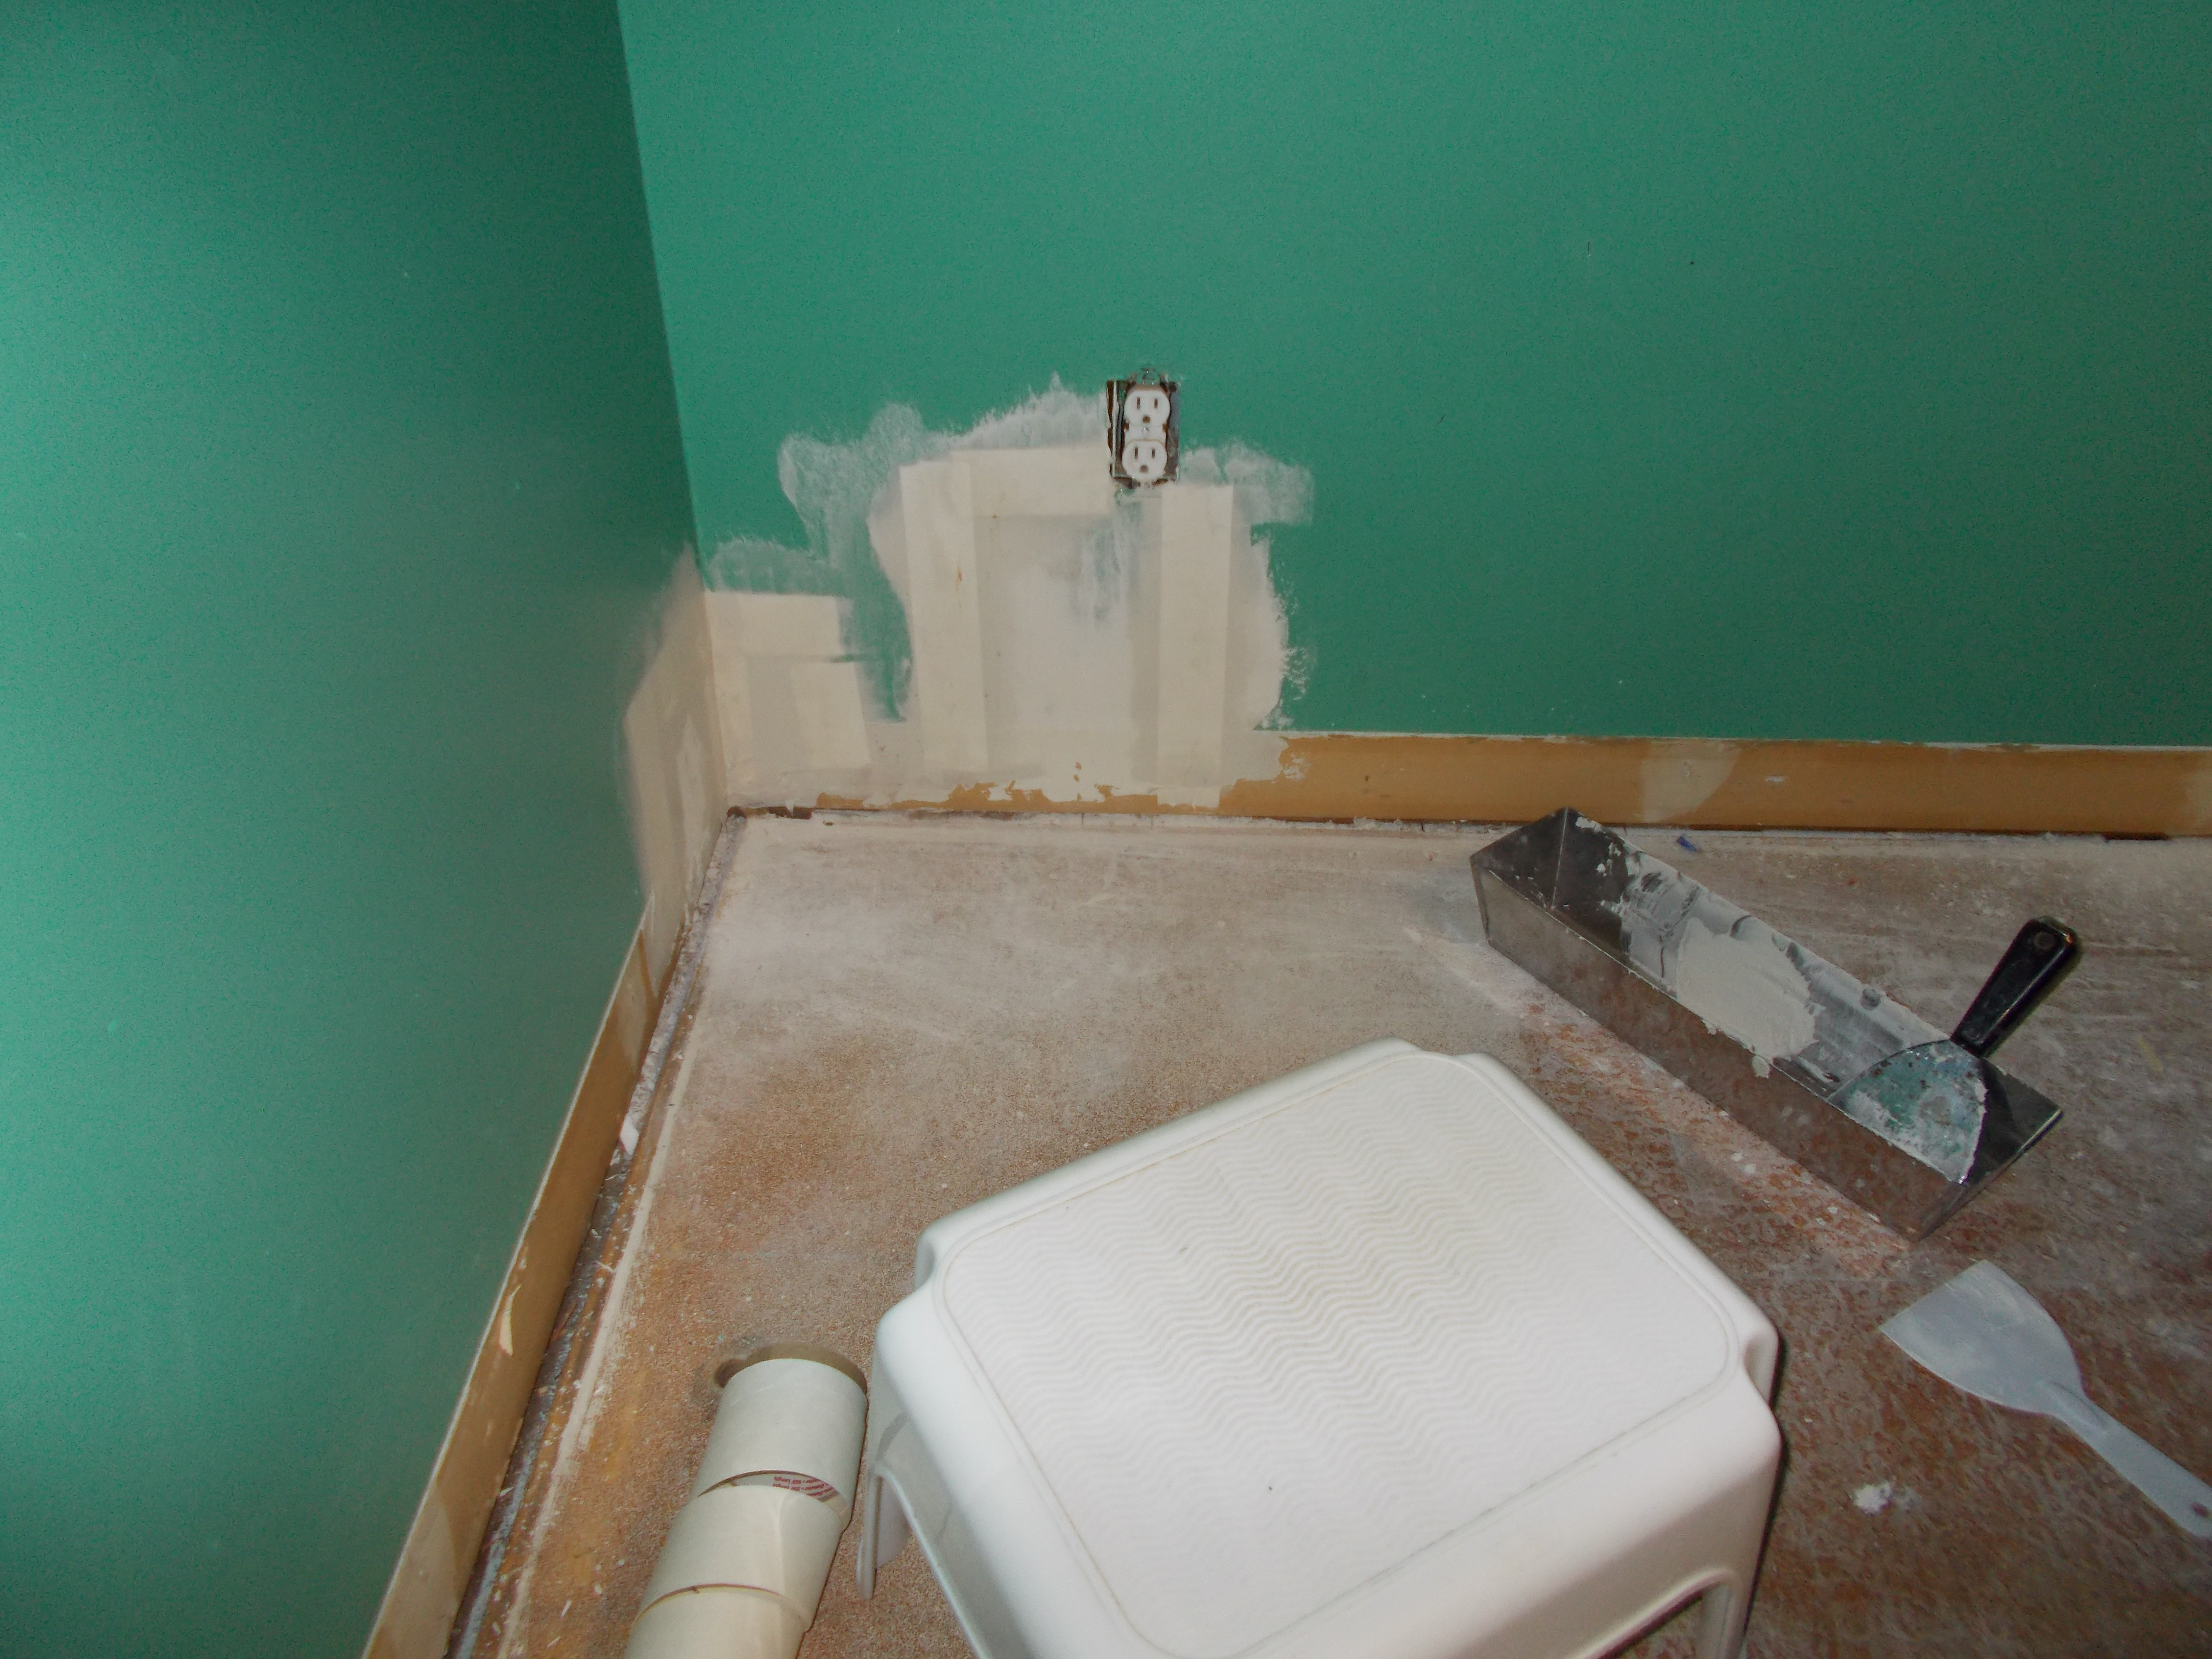
After cleaning up my mess, I moved on to pulling the trim from the walls and around the windows and doors. This is tricky work. It can be difficult to pull the trim without breaking through the walls. Luckily, I only had a couple of issues with poking holes into the drywall. This would mean some patching, taping, and spackling to repair.
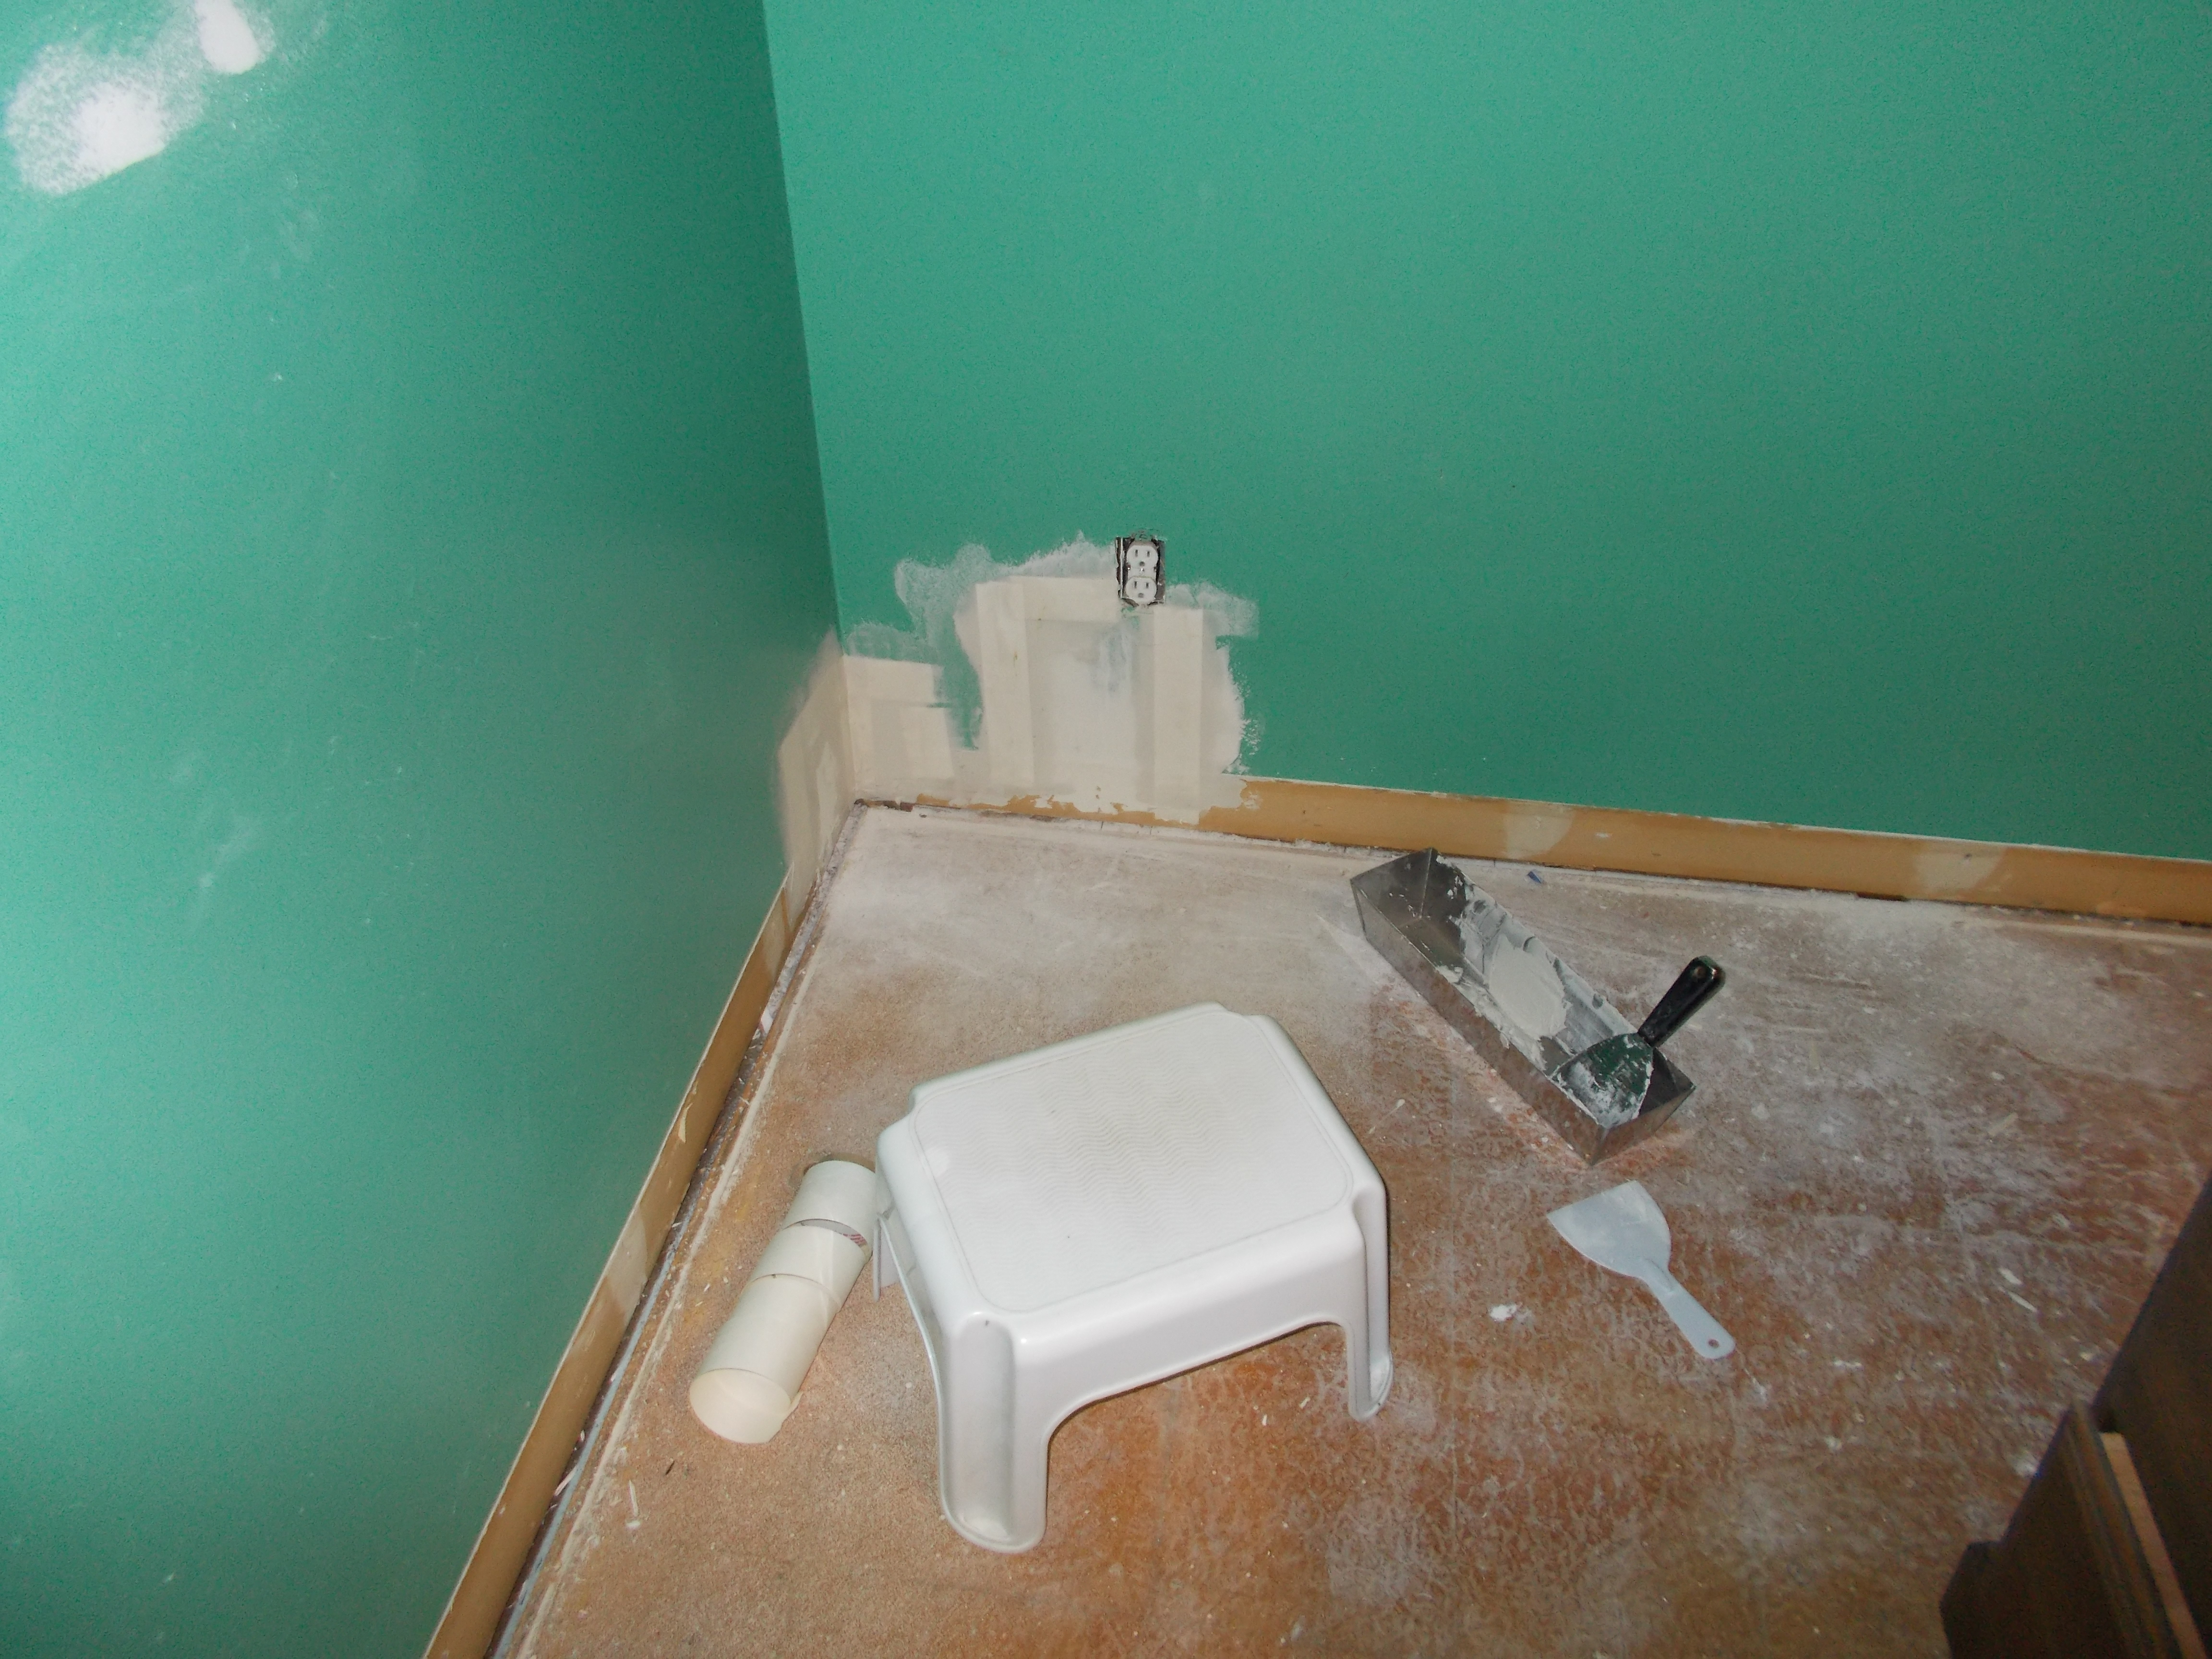
Rich wanted to take the opportunity to add grounding wires to the outlets in the room. We knew the outlets were the original wiring and didn’t have the correct grounding. Since I was tearing things up anyway, it would be a good time to fix the issues with the room. Rich cut holes in the drywall and ran the extra wires to tie the outlets to ground.
Rich then worked on getting the squares of new drywall into place. This would be the first time I’ve tried my hand at taping and mudding. It’s not that I did a good job at it, but it was a fairly decent job for a first time. I was proud of it.
Sanding wasn’t too difficult. You need a fine touch to do the sanding without destroying the layers underneath. After three layers of mud and smoothing out the layers, I had the walls ready for the first layers of paint.
The last time I painted the room, I had added glow in the dark pain to create stars sparkling in the midnight sky on the ceiling and upper part of the walls. I had to sand these multiple spots over the surface to ensure they were smooth. After this was done, the walls were washed down and dried well.
I decided to go to Ace Hardware and try their Valspar paint for this project. The personnel at the Paint Desk assisted me with picking out the paint and then making up samplers of the two colors. I wanted to be sure that it was going to cover the midnight blue on the ceiling first.
Back home, I got my painting utensils together. We keep all of our painting tools together in one drawer out in the workshop. This makes it easy to find things and to keep up with the supplies when I need to buy more. I had purchased extra rollers and pan liners. I was ready to rock and roll on the next phase of this project.
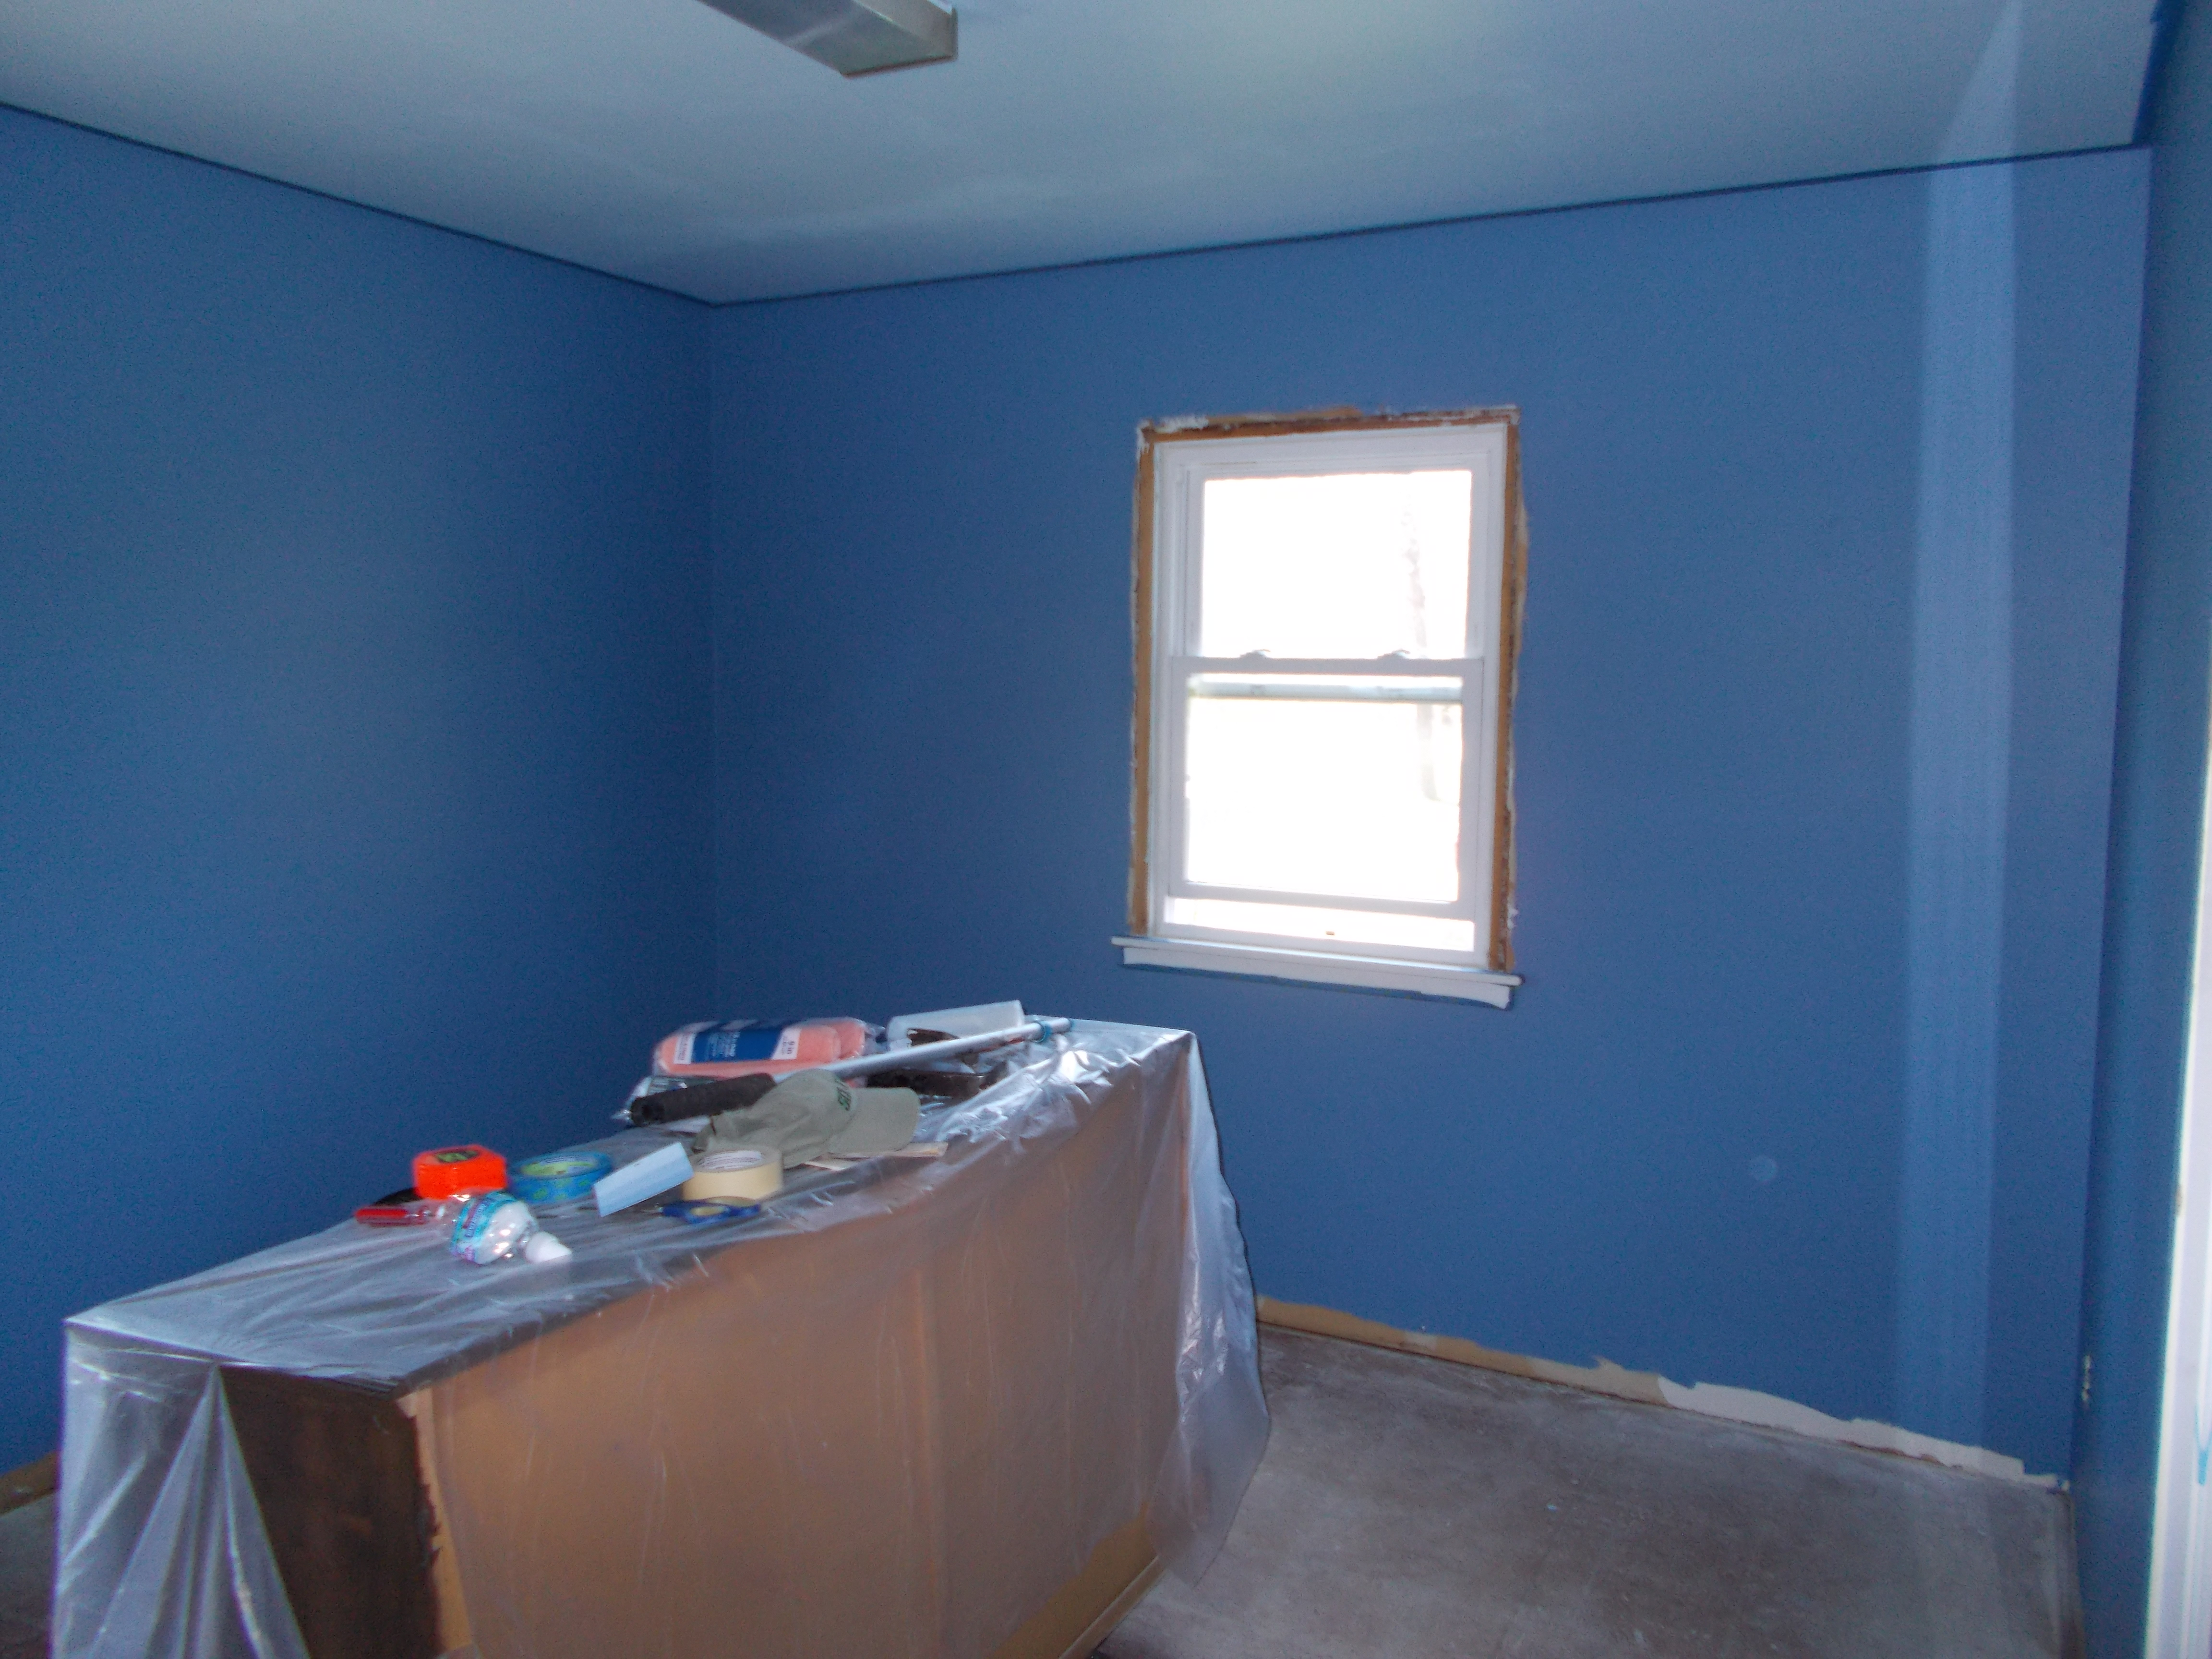
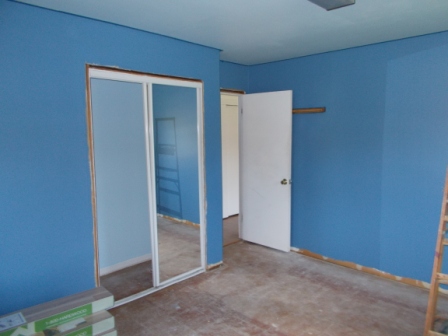
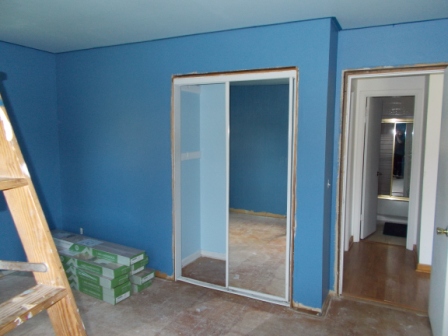
My first test was to check the light blue that would be covering the ceiling. My paintbrush dipped into the can and my first swipe went onto the wall. The first coat covered beautifully. The color was very nice also. I made a couple of swipes with the colonial blue that would be on the walls. I was glad to see that my colors would work over the existing colors.
The next day, I was on my way back to Ace to pick up a gallon of each color. It was time to getting painting on the room. I talked to the guy at the desk about tips while waiting for the paint to mix. He had a lot of good ideas to make the project go smoothly and minimize the amount of time I needed to put into it.
Taping is not my favorite part of a paint job. I had a couple of rolls of tape. That should allow me to tape off the ceiling for the first part of this job. The tape was applied and I started cutting in the edges. The first coat went on and looked really good. I didn’t see any signs of the midnight blue or the sparkling stars. A couple of hours later, I put on the second coat.
The job went pretty well. The only problem was that I could hardly walk afterwards. How did that happen? It think was all the up and down on the ladder. I didn’t know if I was going to get the walls done. This was going to hurt a little, I think.
The next day, I stretched out to get limber. Man, my muscles still hurt. Well, this thing wasn’t going to get done by itself. First, I needed to tape off the room. Then it was time to open the new gallon of paint and get the brush working.
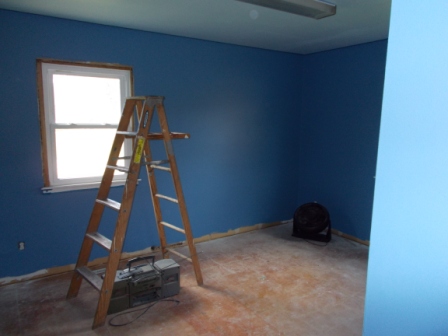
By the end of the first day, I had the first coat of colonial blue up on the walls all around me. Luckily, I didn’t feel as beat up as the first day. I might actually survive this. I left the windows open to help with the drying.
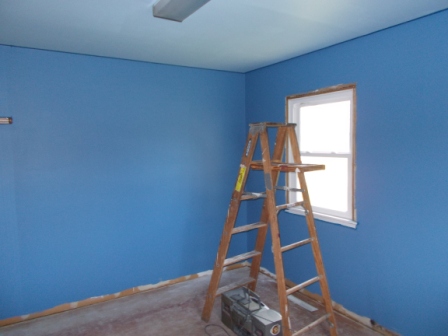
Unfortunately, I needed to work the next day. Finishing up the painting would be work done in the evenings for a while. After dinner, I changed into my painting clothes and collected my brushes. After a couple of nights, I was able to get the wall completed. Yes, and I could still walk.
The color turned out exactly as I pictured it in my head. This was going to be a great room. I can’t wait for the other parts to come together and add to the character of the room.
After working so hard, I slept really well for several nights.